Menu
Home
Random Picture
Submit
All
(De)motivational
Animals
Architecture
Art & Nature
Auto-correct/Texts
Cartoons
Celebs/Public Figures
Education
Facebook
Fail
Fashion & Lifestyle
Food/Drink
Funny
Games/Technology
Gifs
Memes & Comics
Misc
Music
Politics & Religion
Quotes
Signs
Sports & Fitness
Transport
TV/Films
Twitter
WTF
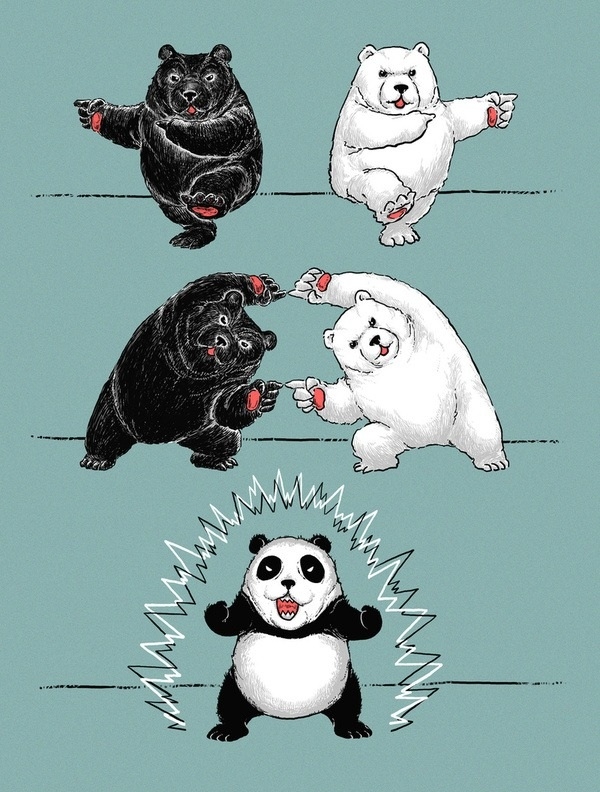
This is the explanation
Share this image
data-count="vertical">Tweet
Share
Share
data-count="vertical">Tweet
More recommended images


